
How to record the screen on the Mac

This post tells you how to record the screen on the Mac1:
• Make sure you’re recording good audio.
• Close any apps and tabs not related to recording, since you don’t want them playing sound, showing notifications, showing “2 Notifications” in their tab, or otherwise distracting you. If you have junk open, you might accidentally switch to it, disrupting the recording. So get rid of it. Only whatever you’re going to record, and any aids you’re going to refer to while recording (like a script), should be open.
• Open QuickTime Player and select File > New Screen Recording. A toolbar appears at the bottom of the screen. Select the option as shown by the green arrow2:

If you have an external monitor, you can select which screen to record. And you can use the other one for the aforementioned aids.
• Enable Show Mouse Clicks since it highlights in the recording when you click. Otherwise, viewers may lose track of the mouse as you move it quickly.
• Disable Show Floating Thumbnail, since it’s annoying, not helpful.
• Enable Remember Last Selection, to preserve these settings for next time.
• Then click Record.
•After recording, post-process.
Overlaying your webcam
The above guidelines will record your screen, but you want to overlay your webcam onto the screen like
To do this, open QuickTime Player and select File > New Movie Recording. Then select View > Float on top. Move it to a corner of the screen and reduce the size so that people can clearly see your face, but no bigger. Then select File > New Screen Recording and follow the rest of the steps above.
Remember to position your camera just above the top of your monitor. If you don’t have space on your desk, move the desk away from the wall and place a tripod behind your desk.
Place the camera towards the center of the monitor, not to one side. If you’re using your smartphone as a camera, the phone lens should be at the center, not the phone itself. I’ve found even a small misalignment to make the video look good.
Set your monitor brightness to maximum to light up your face.
Using your smartphone as a webcam
Use your smartphone as a webcam — it’s much better than the webcam even in top-of-the-line laptops like the Macbook Pro 16, or any standalone webcam you can buy.
macOS supports using the iPhone as a webcam. That itself would be much better than a hardware webcam. But a better3 way to use a phone as a webcam is Camo.
Here are the settings I suggest using with Camo:
Use the latest iPhone you have. I found the iPhone 11 Pro to be noticeably better than the XS which were noticeably better than the Pixel 1.
Configure the iPhone to turn off orientation lock and turn on Do Not Disturb when you open Camo.
In Camo’s preferences, set the audio to mono 4:

Use the wide camera, not the front camera, which is worse. Not the telephoto camera, which is too zoomed in and looks unnatural — you want to capture your chest, so that you come across as a complete person, not a talking head.
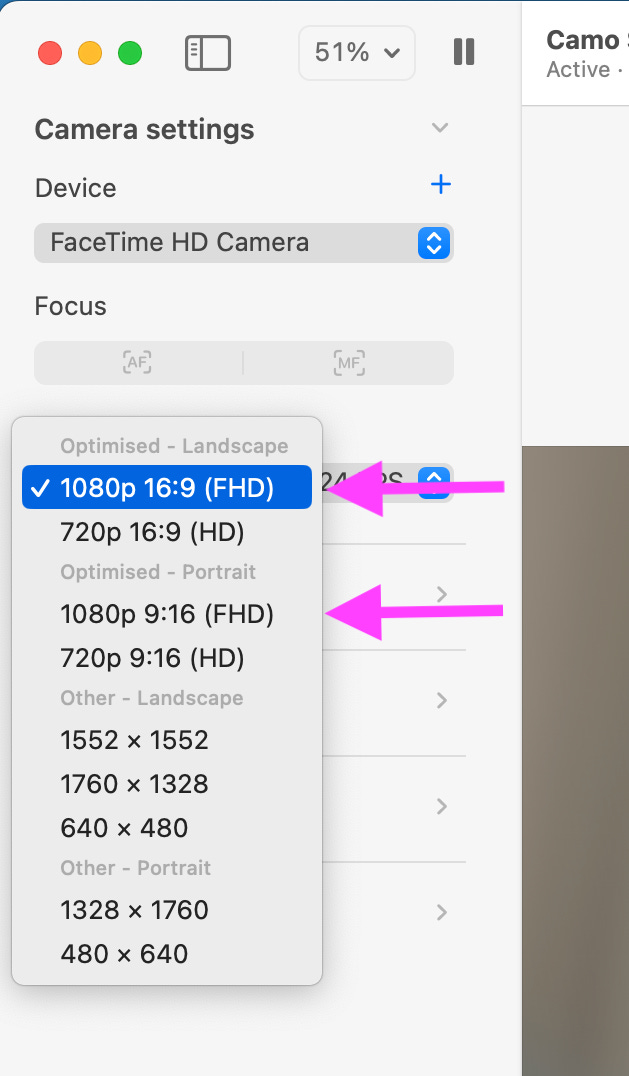
Set the resolution to either 1920 x 1080 or 1080 x 1920 depending on whether you’re capturing a vertical video5:

Mount the phone in the same orientation as the resolution you've chosen in the previous step. If you’re capturing a vertical video, mount your phone vertically in the tripod 6.
Set the FPS to 247 :

Enable mirroring:
Otherwise, when you move your head to the left, your image on screen will move to the right, which is disorienting and makes it hard to frame yourself properly.
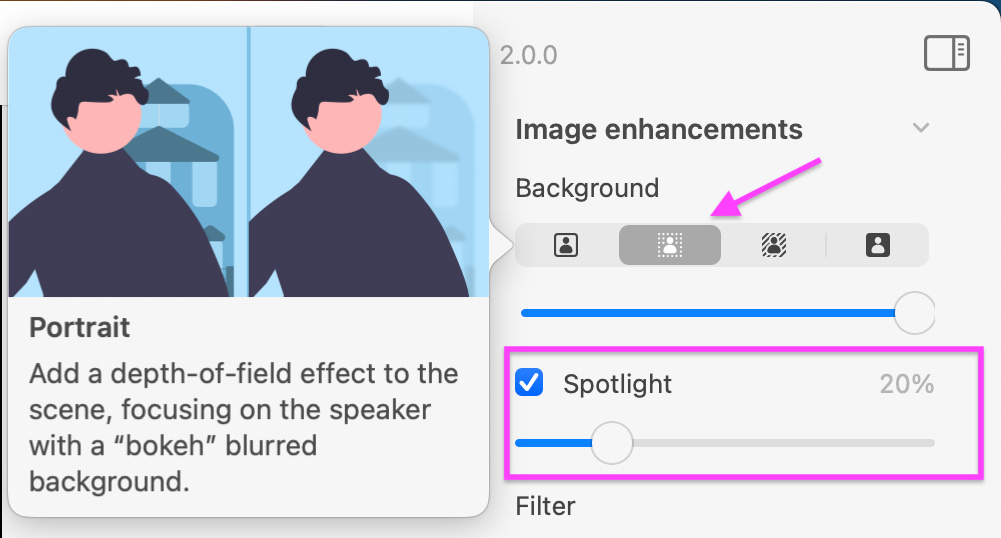
Now, let’s move on to the right panel. Enable Portrait to blur out your messy background8, and set Spotlight to 20% to subtly set you apart from the background

Make the white balance slightly warmer:

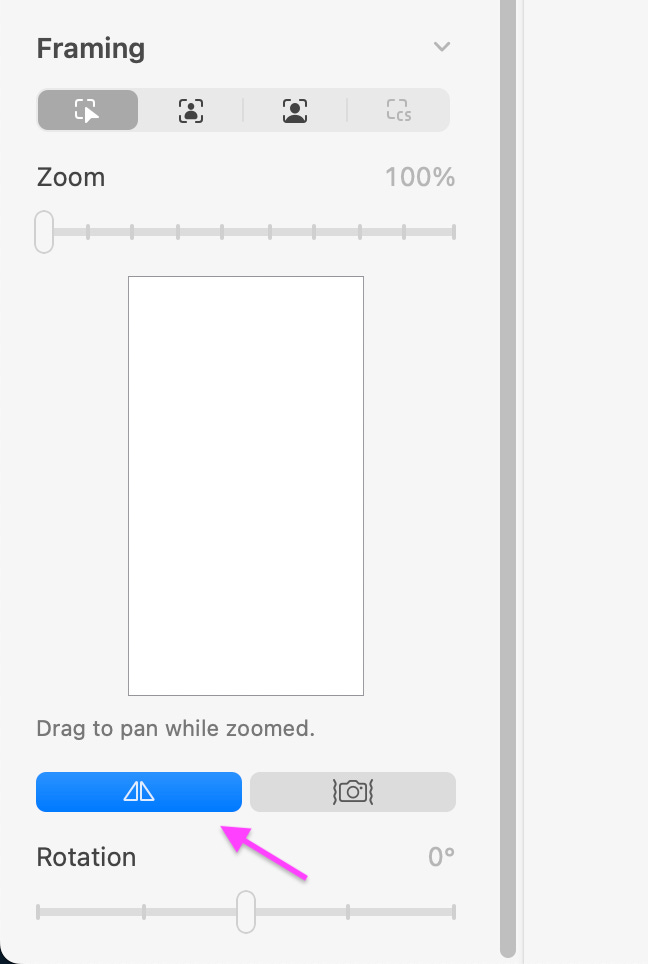
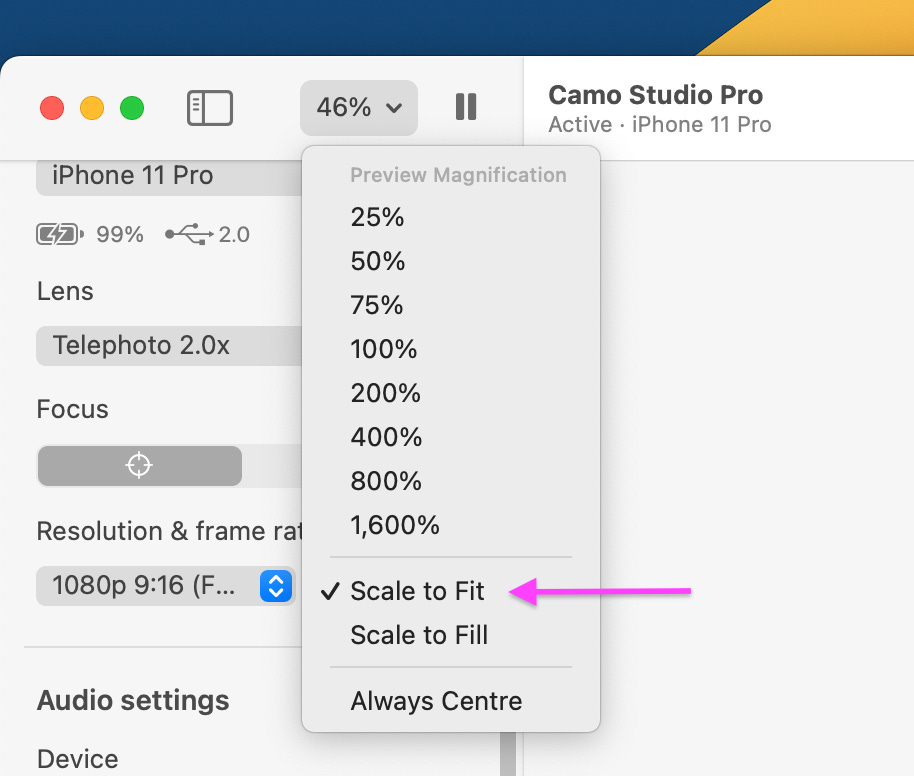
Choose Scale to Fit:
If you see an overlay on your video with the Camo logo, turn it off in Overlays.


If you don’t have a Mac, even an old one, and must use Windows, it won’t work well, but here’s how to make it less bad.
The three options to the left will cause a screenshot (image) to be captured, not a screencast (video).
The one to the right of the one pointed by the green arrow lets you record a rectangular region of the screen. It doesn’t work well, since you end up moving and resizing windows as the recording is going on, distracting from the recording. Just record the entire screen.
Camo lets you choose cameras for better quality, blur out the messy background you may have.
Otherwise, you might end up recording unbalanced sound, which sounds like you’re speaking from one side. It’s distracting to listen to.
Some apps like Microsoft Teams can handle only landscape video, in which case you should select landscape resolution in Camo; otherwise, it will crop, reducing quality.
Otherwise, only a part of the camera’s sensor will be used, resulting in worse quality.
Higher the FPS, higher the ISO, which looks bad.
which looks unprofessional.
I accidentally recorded a video that was framed significantly differently from the preview because the preview was zoomed in.